 LIGHTBOX SINGLE ITEM EXAMPLE


8KBET
8KBET là nơi cung cấp tin tức điều hướng và trò chơi điện tử hàng đầu, với các trò chơi đa dạng như đánh bài, slot game, mang đến trải nghiệm giải trí trực tuyến chất lượng cao.8KBET-Tin Tức và Dịch Vụ Điều Hướng cung cấp nền tảng thông tin và dịch vụ điều hướng đa dạng, với các thông tin nóng hổi và cập nhật hàng ngày, bao gồm tin tức xã hội, tin tức thế giới, và tin tức đáng chú ý nhất. Với cam kết cập nhật nhanh nhất và tin tức đáng tin cậy, mang đến cho người đọc một trải nghiệm đọc tin tuyệt vời.8KBET-Điều Hướng Tin Tức Mới Nhất cung cấp nền tảng tin tức đa dạng với các thông tin nóng hổi và cập nhật hàng ngày, bao gồm tin tức xã hội, tin tức thế giới, và tin tức đáng chú ý nhất. Với cam kết cập nhật nhanh nhất và tin tức đáng tin cậy, mang đến cho người đọc một trải nghiệm đọc tin tuyệt vời.
HiphopLần đầu múa khăn, hát trước khán giả, cựu danh thủ Hồng Sơn nói 'muốn ngất xỉu'-8KBET Việt Nam
8KBET là nơi cung cấp tin tức mới nhất và dịch vụ điều hướng hàng đầu, với các trò chơi đa dạng như đánh bài, slot game, mang đến trải nghiệm giải trí trực tuyến chất lượng cao.8KBET - Trang thông tin và điều hướng chính thức. Cung cấp các thông tin về giải trí trực tuyến và các sản phẩm phần mềm cá cược an toàn. Không chứa từ ngữ liên quan đến đánh bạc.8KBET - Điều Hướng và Cập Nhật Trò Chơi cung cấp thông tin nổi bật và cập nhật hàng ngày về các trò chơi. Khám phá tin tức game mới nhất và các thông tin hữu ích từ dịch vụ điều hướng.8KBET - Điều hướng cập nhật trò chơi, cung cấp thông tin và hỗ trợ chính thức cho người dùng tại Việt Nam. Được thiết kế để cập nhật những tin tức mới nhất về 8KBET và các trò chơi tương ứng, cam kết đáp ứng các nhu cầu về thông tin và an toàn cho người chơi.
Thể thaoChàng trai 24 tuổi say đắm cụ bà 71, hẹn kiếp sau tiếp tục làm vợ chồng-8KBET tri ân tặng quà cao cấp
8KBET - Tin tức và trò chơi dịch vụ điều hướng, cung cấp thông tin và hỗ trợ chính thức cho người dùng tại Việt Nam. Được thiết kế để cập nhật tin tức mới nhất về 8KBET và các trò chơi, cam kết mang đến sự tin cậy và an toàn cho người chơi.8KBET - Trang thông tin và điều hướng chính thức. Cung cấp các thông tin về giải trí trực tuyến và các sản phẩm phần mềm cá cược an toàn. Không chứa từ ngữ liên quan đến đánh bạc.8KBET là trang cập nhật trò chơi và điều hướng hàng đầu, cung cấp tin tức nhanh nhất và các trò chơi đa dạng như đánh bài, slot game với độ uy tín cao.8KBET là một trang web cá độ bóng đá và sòng bạc trực tuyến hàng đầu tại Việt Nam, cung cấp các dịch vụ chơi game trực tuyến đa dạng và hấp dẫn. Điều hướng trò chơi điện tử đơn giản và thuận tiện, mang đến trải nghiệm cá cược thể thao và sòng bạc tuyệt vời cho người chơi.
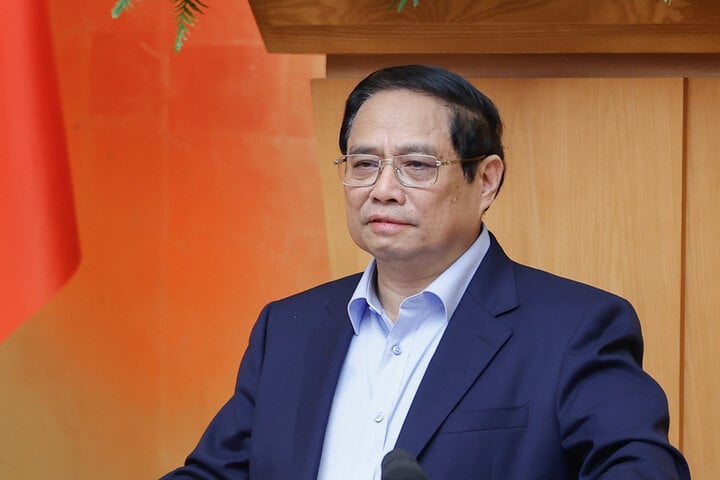
Chính trịHà Nội chất vấn việc thực hiện kỷ luật, kỷ cương trách nhiệm thực thi công vụ-Nhà cung cấp Baccarat 8KBET

Lãi vay mua nhà xuống 'đáy', vì sao người dân vẫn thờ ơ?-8KBET Săn Hũ
Phụ nữ đẹp ipsum dolor sit amet, consectetur adipiscing elit. In est metus, tincidunt vitae eleifend sit amet, porta a sapien. Fusce in dolor nec purus facilisis dictum. tincidunt sed quam.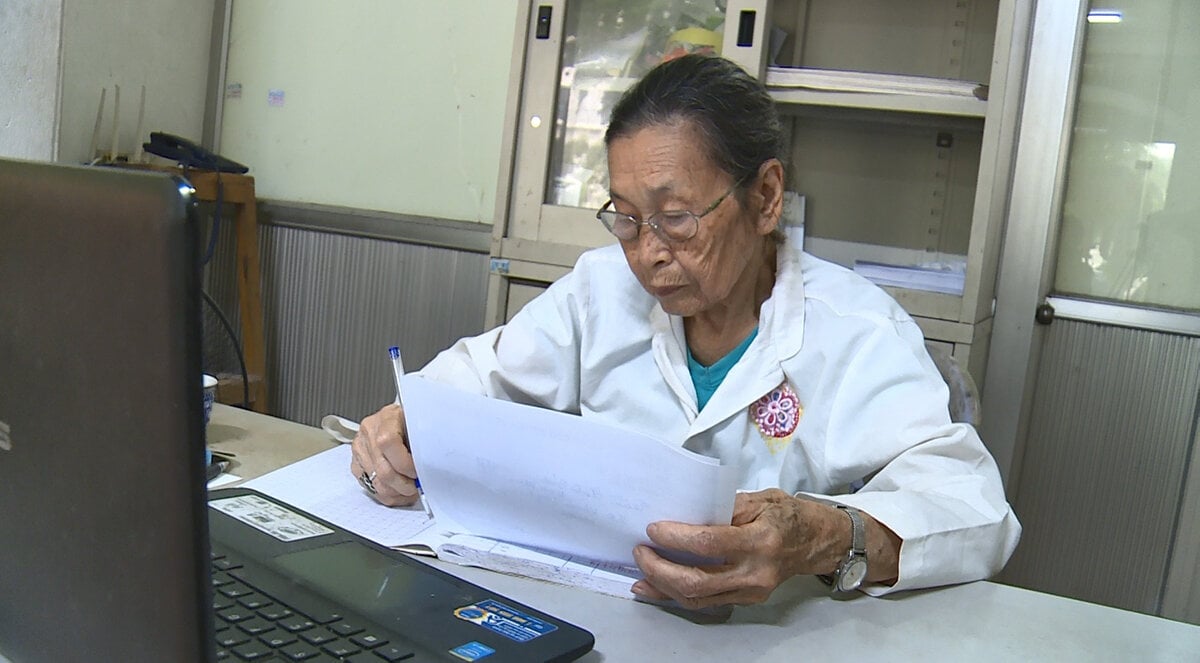
Lương công chức, viên chức từ 1/7: Thấp nhất 3,1 triệu, cao nhất 23,4 triệu đồng-Link 8KBET bet
Công bố điểm chuẩn vào lớp 6 trường THCS - THPT Trần Đại Nghĩa-tải APP của 8KBET, tincidunt sed quam. Duis dignissim nunc et diam volutpat et ultrices nulla venenatis. Etiam eu augue eu nibh lobortis pretium eu non velit. Curabitur erat arcu, consequat sit amet hendrerit eget, mollis quis erat. Nullam turpis metus, dictum ac porta ut, volutpat et lectus. Nunc et enim metus, sed sagittis nulla. Fusce sed augue id enim condimentum lacinia ac quis dui. Praesent nibh purus, convallis a congue at, facilisis in massas

Ông Putin nêu điều kiện ngừng bắn ở Ukraine-tuyen dung dai ly 8KBETb
Phụ nữ đẹp ipsum dolor sit amet, consectetur adipiscing elit. In est metus, tincidunt vitae eleifend sit amet, porta a sapien. Fusce in dolor nec purus facilisis dictum. tincidunt sed quam.